
Uncategorized
How to Choose Heavy-Duty Drawer Slides for a 4WD Canopy or Ute Toolbox
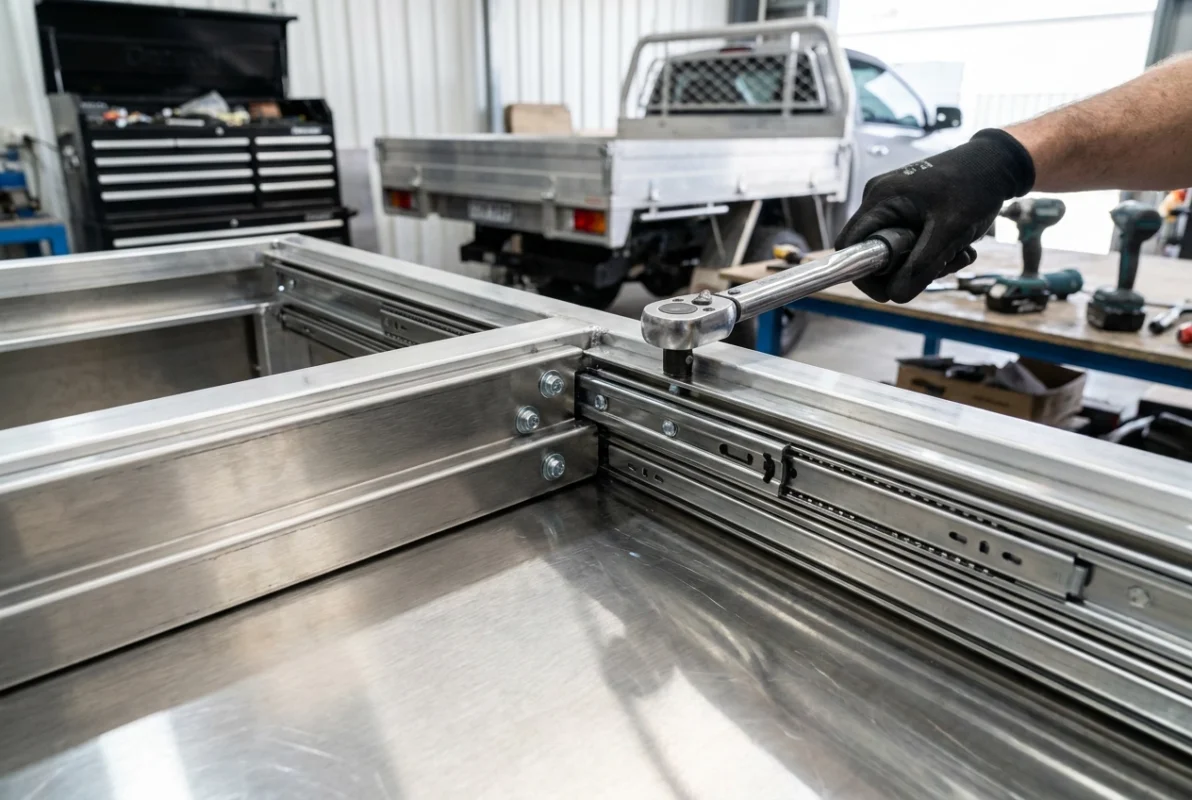
Oct
A poorly chosen drawer slide does not fail immediately. It fails on a corrugated dirt road three hours from the nearest town, when a 60 kg tool drawer pulls free of its mount or rolls open into your legs at a creek crossing. For Australian fabricators and serious DIYers building 4WD canopies and ute toolboxes, selecting the right heavy duty drawer slides is one of the most consequential decisions in the entire build.
The problem is that most selection mistakes trace back to just two errors: underestimating actual load requirements and choosing the wrong mounting configuration for the substrate and application. Generic product guides rarely address either with any precision.
This post works differently. It gives you a structured, four-decision framework covering load rating, extension type, locking function, and mounting method, so you can match the right specification to your actual build variables before you order a single component. You will also find a load rating quick-reference, a mounting substrate guide, material and finish recommendations for Australian conditions, and installation tips drawn from the most common build failures. Work through each section in order and you will not need to guess.
Why Most Drawer Slide Selection Mistakes Come Down to Two Things
Most drawer slide failures in 4WD canopy and ute toolbox builds trace back to two mistakes: underrated load capacity and incorrect mounting orientation. Not product quality. The slide itself is rarely the problem.
The reason generic hardware store slides fail in vehicle applications is straightforward. They are rated for static, horizontal, controlled-environment loads, tested on a level bench with no vibration, no impact, and no dynamic load shift. A ute toolbox on a corrugated dirt road is none of those things. Road vibration, braking forces, and offroad impacts create dynamic loads that can multiply the effective weight on a slide well beyond its static rating, a slide that runs perfectly in a workshop cabinet can shed fasteners or develop binding within weeks of regular touring use.
Mounting orientation compounds the problem. Side-mount and base-mount slides are not interchangeable; fitting a slide in the wrong plane relative to its design load direction can reduce effective capacity to a fraction of the rated figure, and many DIY builds get this wrong because the product packaging lists a load rating without specifying the mounting orientation that rating was tested in.
The consequences of a failed slide mid-trip go beyond inconvenience. Drawers can jam shut and trap equipment, fasteners can back out under vibration and become a loose-load hazard, or a drawer carrying heavy tooling can drop partially open and destabilise under braking. None of these are theoretical risks on Australian outback tracks.
This guide works through four sequential decisions: load rating, extension type, locking function, and mounting method. Running through them in order, before you order anything, is what separates a build that lasts from one that needs rebuilding after its first serious trip.
Before You Spec a Slide: Know Your Application Variables
Before committing to any product specification, gather five pieces of information about your build. Getting these wrong upstream makes every downstream decision unreliable.
Payload category. Estimate the gross weight of everything the drawer will carry at maximum load: the drawer box itself, any tray or divider system, and the full contents. Three practical tiers cover most 4WD and ute toolbox builds: hand tools and recovery gear (15–40 kg), power tools and compressors (40–80 kg), and workshop-grade equipment or heavy parts storage (80 kg and above). Your tier determines your minimum slide rating before safety factors are applied.
Drawer opening dimensions. Measure your cabinet opening depth precisely. Slide length should match or fall within 25 mm of the drawer depth; a slide significantly shorter than the drawer creates a lever arm at full extension, generating side-load forces the bearing race is not designed to handle, which causes binding and accelerated wear.
Operating environment. A drawer system that will only see sealed roads carries a very different load profile than one crossing corrugated tracks, river crossings, or technical terrain. Each step up in environment escalates dynamic load and vibration, which directly affects both the load rating tier and the locking function you need. Be honest about where the vehicle actually goes, not just where you plan to take it.
Access direction. Rear-access drawers, typical in canopies, require full travel to be useful. Side-access drawers, common in ute trays and toolboxes, work with shorter travel because the access width is narrower. This distinction drives extension type selection in Decision 2.
Mounting substrate. Identify what the slide will fasten to: steel RHS frame, aluminium extrusion, aluminium checker plate, or timber. Each material has different fastener pull-out characteristics. Thin checker plate and unsupported aluminium sheet routinely need backing plates to achieve adequate holding strength under load.
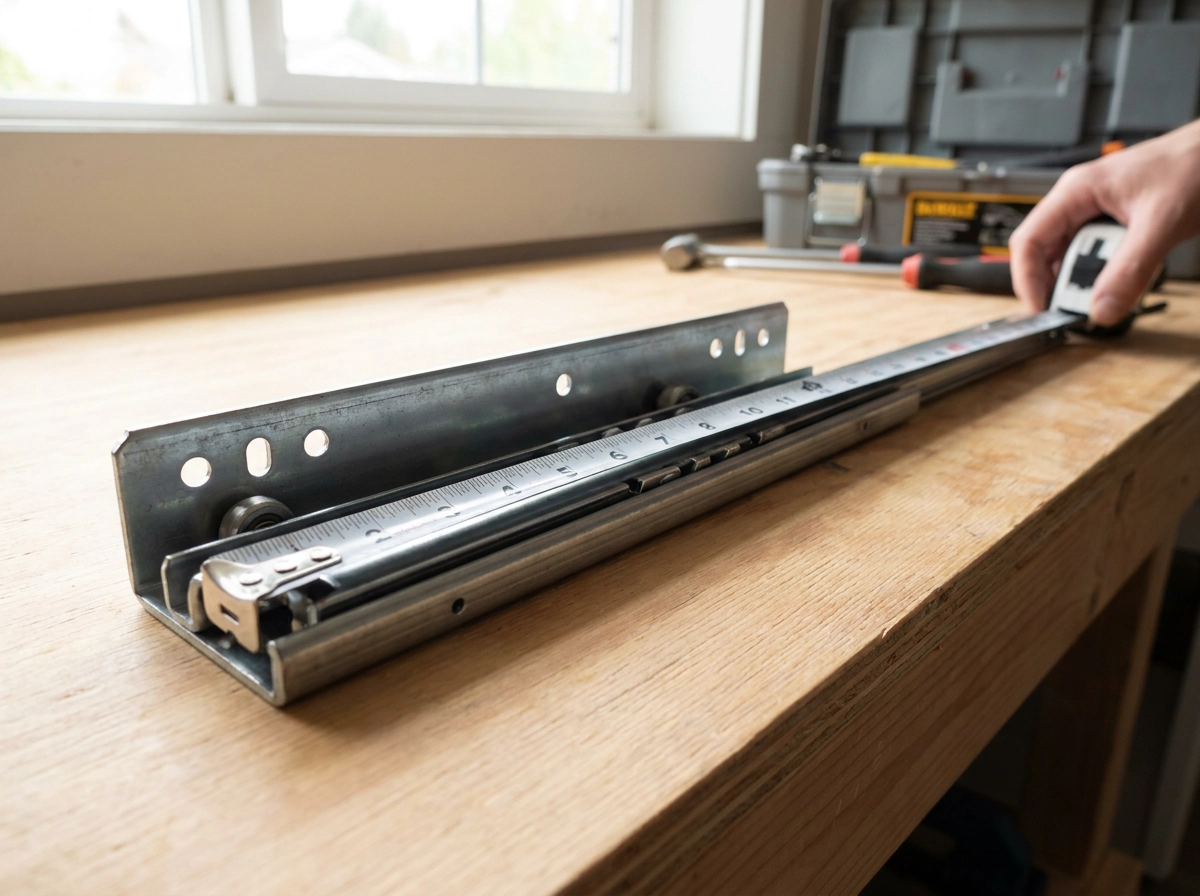
Decision 1: Load Rating, How to Calculate What You Actually Need
With your application variables mapped, load rating is where the specification either holds or fails.
Heavy-duty drawer slides begin at 75 kg (170 lbs) per pair. Commercial-grade options reach close to 600 kg, but for 4WD canopy and ute toolbox applications, the practical range sits between 75 kg and 227 kg. Identifying which tier your build requires is the first and most consequential decision.
Never spec to payload alone
The critical mistake is treating your estimated load as the target rating. It is not. Apply a meaningful safety margin, conservative industry practice for vehicle-mounted applications is to select a slide rated well above your estimated payload. A corrugated dirt road does not apply load gently or evenly; it multiplies it with every impact.
Static vs. dynamic load ratings
Most published ratings are static, meaning the slide is tested at full extension on a level surface with no movement. That condition does not exist in a moving vehicle. Offroad vibration, braking forces, and lateral cornering loads all stress the slide beyond its static figure. Treat the published static rating as your upper bound when selecting for offroad use, not as the working capacity.
Worked example
A canopy drawer carrying 30 to 50 kg of hand tools and recovery gear requires a slide rated comfortably above that payload range. Trailer Parts Direct’s 130 kg dual-travel slides deliver a comfortable margin over that payload range, which is appropriate for regular mixed-terrain touring.
For drawers carrying power tools, battery systems, or compressors with a gross load above 80 kg, step up to the 227 kg locking slides. The price difference over 130 kg slides is modest; a mid-trip slide failure or a dropped compressor is not.
One critical pairing misconception
Unless the manufacturer’s documentation explicitly states a combined pair figure, confirm per-slide vs. per-pair capacity with your supplier before specifying.
Load Rating Quick-Reference: Matching Payload to Slide Specification
The calculations from the previous section translate directly into three practical tiers. Use this as your quick-reference before ordering.
Tier 1: Up to 40 kg gross payload Light hand tools, recovery straps, first aid kits, camp kitchen gear. Minimum specification is a 75 kg rated heavy-duty slide pair, which delivers a meaningful safety margin at the top of this payload range.
Tier 2: 40 to 80 kg gross payload Power tools, dual battery systems, water carriers, recovery boards. Minimum specification is 130 kg rated slides. Trailer Parts Direct 130 kg dual-travel slides are the standard choice for this range; they cover the full tier with meaningful safety margin and suit the rear-access canopy configurations most common in Australian touring builds.
Tier 3: 80 kg and above Workshop compressors, generator sets, heavy spare parts, or any multi-drawer system where cumulative drawer weight pushes the total above 80 kg. Slides rated at 200 kg or above are required. The 227 kg locking variant is the practical benchmark in the Australian 4WD market for this tier; the locking function is a co-requirement at this load level, not an optional extra.
Where a manufacturer publishes both a static and a dynamic rating, use the dynamic figure for your calculation. Where only a static rating is listed, treat it as your upper bound rather than your working target.
When you are on the boundary between tiers, spec up. A heavier-duty slide adds negligible weight to a build. The cost difference between tiers is consistently less than the labour involved in a post-failure rebuild.
Decision 2: Extension Type, Full Extension vs. Over-Travel Explained
With load rating locked in, the next variable is how far the drawer actually travels, and whether that travel gives you access to the full interior.
Full extension is the baseline for 4WD canopy and ute toolbox builds. The drawer travels its complete length beyond the cabinet face, exposing the entire interior. For most applications, this is sufficient.
Over-travel slides go further than the nominal slide length, pulling the drawer outward beyond what a standard full-extension slide of the same size achieves. This matters in deep canopy builds. If your drawer depth is such that a standard full-extension slide leaves the rear section inaccessible, over-travel slides pull the drawer clear enough to see and reach the entire floor.
Partial-extension slides, typically offering around 75% travel, keep more slide member overlap at extension. That overlap increases load-bearing capacity at the open position, which is why partial-extension suits very heavy static loads in fixed installations. For vehicle applications where you need to reach the full drawer interior, the trade-off is rarely worth it.
Dual-travel or progressive-extension slides use a secondary travel stage to achieve greater extension than a standard full-extension slide of the same closed length. The Dunn and Watson 130 kg dual-travel slides are built on this principle. They are well suited to rear-access canopy drawers where the drawer must travel far enough to clear the vehicle’s rear bumper or step before the contents are accessible.
Matching extension type to access direction simplifies the decision:
- Rear-access canopy drawers: full extension as the minimum; over-travel where drawer depth makes the rear section inaccessible with standard travel; dual-travel where bumper clearance is required
- Side-access ute toolbox drawers: full extension is almost always sufficient, as the access width is shorter and the drawer does not need to clear bodywork
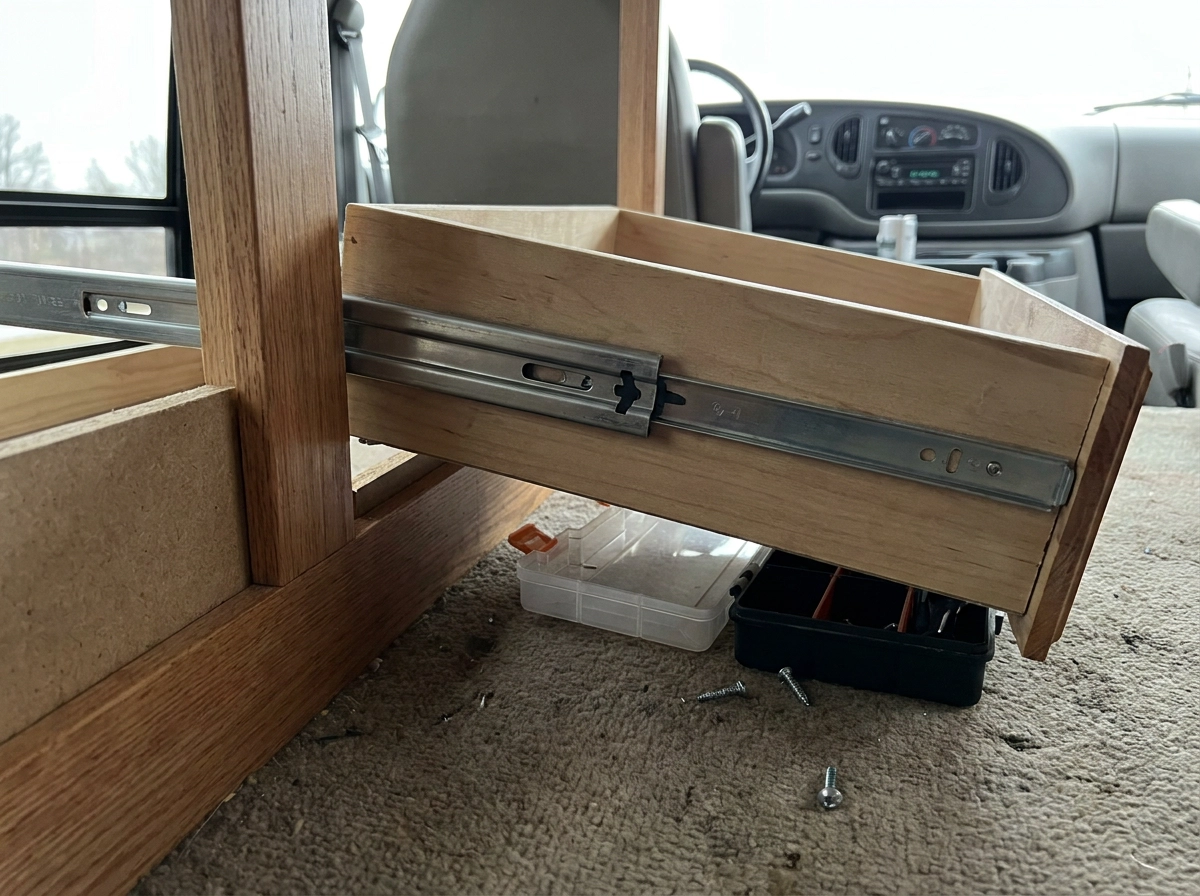
Decision 3: Locking Function, Why Non-Locking Slides Fail in a Moving Vehicle
Once you have extension type locked in, locking function is the next specification decision, and it is the one most commonly dismissed until something goes wrong on the road.
Non-locking slides have no mechanism to hold the drawer at any position. On a moving vehicle, road vibration alone creates progressive drawer creep. The result is a drawer that gradually opens during transit, or slams shut under hard braking with a full tool load inside. Neither is a minor inconvenience; both are genuine safety risks.
Lock-In vs. Lock-Out: What Each Function Does
Lock-in holds the drawer in the closed position and prevents it from opening during transit. This is the minimum requirement for any vehicle-mounted drawer. Without it, you are relying entirely on friction, which corrugated tracks and highway vibration will eventually overcome.
Lock-out holds the drawer at full extension and prevents it from sliding back while you are working from it. For canopy rear-access drawers, this is not optional. A drawer that closes unexpectedly under load can trap hands or send heavy equipment off the tailgate.
Offroad Use Requires Both
For rock-crawling, river crossings, and extended corrugated track use, specify slides with both lock-in and lock-out. The articulation forces and sustained vibration in active offroad conditions are sufficient to defeat the friction-only detents found in non-locking heavy-duty sliding drawer runners. A detent that holds adequately on a smooth road will not hold on a shelf road with lateral body lean.
Locking variants rated at 227 kg are available through Trailer Parts Direct; confirm with the product specification that both lock-in and lock-out are included when ordering for offroad applications. The load rating and locking function should be co-specified to avoid pairing a high-capacity slide with a locking detent rated for a lighter application.
Corrosion and Maintenance
In Australian coastal and outback environments, corrosion is the most common cause of locking mechanism failure. Specify slides with stainless steel or corrosion-treated locking components, and add locking mechanism lubrication to your annual maintenance schedule. A seized lock-out mechanism in the field is functionally the same as no lock-out at all.
Decision 4: Mounting Method, Side Mount, Base Mount, and Where Builders Go Wrong
With locking function confirmed, the final decision is how the slide attaches to your build, and this is where a disproportionate number of DIY canopy and toolbox projects fail.
The Three Mounting Configurations
Side mount is the standard for vehicle drawer applications. The slide body fastens to the vertical internal face of the cabinet, and the drawer member fastens to the side face of the drawer box. It offers the most predictable installation geometry and the broadest product availability across heavy-duty drawer runners. If your build does not have a specific reason to deviate, side mount is your default.
Base mount (also called flat mount or floor mount) attaches the slide to the cabinet floor and the underside of the drawer. This configuration suits ute tray bedslides and builds where the canopy floor is the primary structural member rather than a side wall. Load transfers vertically into the floor substrate, which works well when that substrate is substantial steel or thick aluminium plate.
Vertical mount is the least common configuration, attaching the slide to the top and bottom of the cabinet opening. It is reserved for narrow applications such as slide-out ladder racks or side-access trays where the drawer travels horizontally across the vehicle width.
Where Builders Go Wrong
The single most common mounting failure is fastening directly into thin aluminium checker plate without a backing plate. Checker plate alone has insufficient pull-out strength to retain a loaded drawer under dynamic offroad loads. Fit a minimum 3 mm aluminium or steel backing plate behind the full length of the slide mounting face on the cabinet side.
Fastener choice is equally critical. Use appropriately rated stainless steel bolts with washers and locking nuts throughout; consult the slide manufacturer’s installation instructions for the specific fastener grade and diameter required for your load rating. Self-tapping screws into aluminium extrusion are not adequate for 130 kg or higher rated applications in a moving vehicle.
When mounting to steel RHS or CHS framing, use a flat washer on both faces and ensure adequate thread engagement into the parent material. Check actual wall thickness, not nominal tube size, and follow the slide manufacturer’s fastener guidance.
Mounting Substrate Guide: Reinforcement Requirements by Build Type
The right fastener strategy depends entirely on what you are bolting into. Here is how each common build substrate changes the approach.
Steel RHS frame canopy is the most straightforward substrate. Side-mount slides directly to the frame using M6 or M8 bolts; no backing plate is needed where wall thickness is 2 mm or greater. Before specifying fastener length, check whether your bolt will bridge a hollow section cavity rather than clamping solid material. A fastener that bottoms out in the void without clamping both walls provides poor pull-out resistance under vibration.
Aluminium extrusion canopy requires more care. Where the extrusion profile includes a T-slot, use compatible T-slot fasteners throughout; they distribute load along the channel rather than concentrating it at a single thread. Where you need to drill and tap, install helicoil thread inserts to reinforce the thread engagement. Do not tap directly into thin-wall aluminium for slide mounting; the thread strips under the sustained vibration loads of an offroad application.
Aluminium checker plate or sheet toolbox is the substrate most likely to cause problems if treated casually. Always fit a steel or 3 mm aluminium backing plate running the full length of the slide on the cabinet side. Checker plate flexes under dynamic load, and that flex is the primary cause of slide misalignment and progressive fastener loosening in tradie and DIY toolbox builds.
Timber sub-frame or drawer box, common in camper trailer and caravan builds. For timber sub-frames, use coach bolts with large-diameter washers; ensure sufficient penetration depth into solid timber per the slide manufacturer’s guidance. Avoid short wood screws, particularly into end grain.
Mixed substrate builds with a steel frame and aluminium skin require one clear rule: mount slides to the steel frame member, not the skin. Where the slide span crosses both materials, fit a steel bridging plate to transfer the load back to the structural member.
Material and Finish: Choosing Between Steel, Zinc and Stainless for Australian Conditions
Once your substrate and mounting method are confirmed, material selection is the final variable that determines how long your slide installation will actually last in Australian conditions.
Cold-rolled steel slides with zinc or zinc-nickel plating are the standard for most 4WD canopy and ute toolbox builds. They offer the best strength-to-weight ratio for the price and perform reliably in inland and semi-arid environments provided you include them in your annual maintenance routine: clean, inspect for coating damage, and re-lubricate after extended outback runs.
Stainless steel slides are the correct specification for coastal environments, marine applications, and any build with regular exposure to salt spray, high humidity, or water ingress. The higher cost is justified not by corrosion aesthetics but by function: rust-induced binding and lock seizure are the two most common ways a corroded slide becomes a failed slide. Stainless eliminates both failure modes.
For outback touring with prolonged fine-dust exposure, material finish is secondary to bearing carriage design. An open-race ball bearing assembly will pack with bulldust regardless of whether the slide is zinc or stainless. Specify slides with enclosed ball bearing carriages; for this application, seal quality around the race is the critical factor when the primary threat is particulate ingress rather than moisture.
Zinc-nickel plating sits between standard zinc and full stainless in both cost and corrosion resistance. It is a practical compromise for mixed-environment touring builds across southeastern and southwestern Australia, where conditions range from humid coastal approaches to dry inland tracks within a single trip.
Stainless steel slides fastened with mild steel bolts in a coastal environment are susceptible to galvanic corrosion at the fastener point. If you specify stainless slides, use stainless fasteners throughout.
Installation Tips That Prevent the Most Common Build Failures
Getting the material spec right is only half the job. Even correctly rated, correctly finished heavy-duty drawer slides will fail early if the installation introduces misalignment, fastener movement, or clearance errors.
Install slides as a parallel pair, confirmed with a level or digital angle finder. Even small misalignment across a long slide generates lateral binding under load. This is routinely misdiagnosed as an undersized slide, leading to unnecessary replacement rather than a simple correction at the mounting face.
Use a drill jig or printed template for every fastener hole. Inconsistent hole spacing is the primary cause of drawer racking, the side-to-side play that develops in a completed build. It is straightforward to correct before assembly and very difficult to fix after the cabinet is together. Spend the time upfront.
Apply medium-strength, removable thread-locking compound to all slide mounting fasteners before final tightening. Standard fasteners back out under road vibration. On corrugated dirt roads, which are a routine part of Australian touring, this process accelerates significantly. Thread-locking compound is cheap insurance against a slide that works loose hundreds of kilometres from the nearest town.
Test under simulated load before the build is finalised. Load the drawer to its intended working weight and cycle it through full extension and retraction multiple times to seat the ball bearings and confirm smooth travel. This surfaces any misalignment while correction is still easy.
For locking slides, test lock-in and lock-out engagement in the workshop before mounting. A mechanism that requires excessive force to engage or disengage unloaded will only perform worse once it carries weight and accumulates field exposure. Reject or adjust before installation, not after.
Leave a small but deliberate clearance between the drawer box side and the cabinet wall to allow for thermal expansion in Australian summer conditions. A drawer that fits precisely in winter can bind on a hot day if zero clearance was used during the build.
The Four-Decision Framework at a Glance
With installation confirmed and your build ready to go, these four decisions form the complete selection sequence. Run them in order before you order anything.
Decision 1: Load rating. Estimate the gross payload of the drawer, including the drawer box itself. Apply a meaningful safety margin, conservative industry practice for vehicle-mounted applications is to select a slide rated well above your estimated payload. Select the next rated tier above that result.
Decision 2: Extension type. Full extension covers the majority of 4WD canopy and ute toolbox builds. Specify over-travel or dual-travel where depth or bumper clearance demands it (see Decision 2).
Decision 3: Locking function. Lock-in is the minimum requirement for every vehicle-mounted drawer; road vibration alone will cause an unlocked drawer to creep open in transit. Add lock-out for any offroad application, or for any drawer carrying significant equipment loads in a mobile application.
Decision 4: Mounting method. Side mount suits the majority of canopy and toolbox builds. Base mount is correct for bedslide and ute tray floor applications. Regardless of orientation, back-plate any thin aluminium mounting face and use thread-locked, appropriately rated fasteners throughout.
Running these four decisions in sequence eliminates underrated load capacity and incorrect mounting, the two failure points that account for most preventable slide failures in Australian 4WD and ute builds.
Getting the Specification Right Before You Order
With the four decisions mapped, the final step is converting that specification into a purchase you won’t need to repeat.
Correct specification rarely costs more than the wrong one. The price difference between a 130 kg and a 227 kg rated slide is modest; the cost of a rebuild, a damaged compressor, or a drawer failure on a remote track is not. When two specifications are close, spec up.
Trailer Parts Direct stocks heavy-duty drawer slides and heavy-duty drawer runners across the full load-rating and locking-function range covered in this guide, including stainless steel variants for coastal and high-humidity environments.
If your build falls outside the standard framework, get advice before ordering. Unusual canopy geometry, extreme payload combinations, or non-standard mounting substrates can put your application outside the assumptions built into any general guide. Contact the Trailer Parts Direct team directly with your dimensions, payload, and substrate details; application-specific guidance before purchase is faster and cheaper than a specification error found during installation.
Once your slides are installed, record the following:
- Slide model and load rating
- Fastener specification (diameter, grade, length)
- Thread-locking compound used and torque applied
This record makes warranty claims, like-for-like replacement, and future modifications straightforward. A drawer system that outlasts the vehicle it was built into is not uncommon; documentation makes that continuity possible.
Finally, build a maintenance check into your touring schedule. Review mounting fastener torque and thread-locking compound condition annually, and after any trip involving extended corrugated road use.
Conclusion
Choosing the right heavy-duty drawer slides comes down to four decisions made in the right order: load rating, extension type, locking function, and mounting method. Get these right before you order, and the rest of the build follows logically. Get them wrong, and no amount of quality hardware will compensate.
The builds that fail are almost always the result of underspecified load ratings, non-locking slides fitted to a moving vehicle, or fasteners driven into unsupported substrate. All three are avoidable with the framework covered in this guide.
If you are ready to specify, use the quick-reference tables to confirm your slide selection, then contact Trailer Parts Direct to verify stock and get application-specific advice before purchasing.
A well-built drawer system should outlast the vehicle it sits in. Start with the right specification, and that outcome is entirely achievable.