
Uncategorized
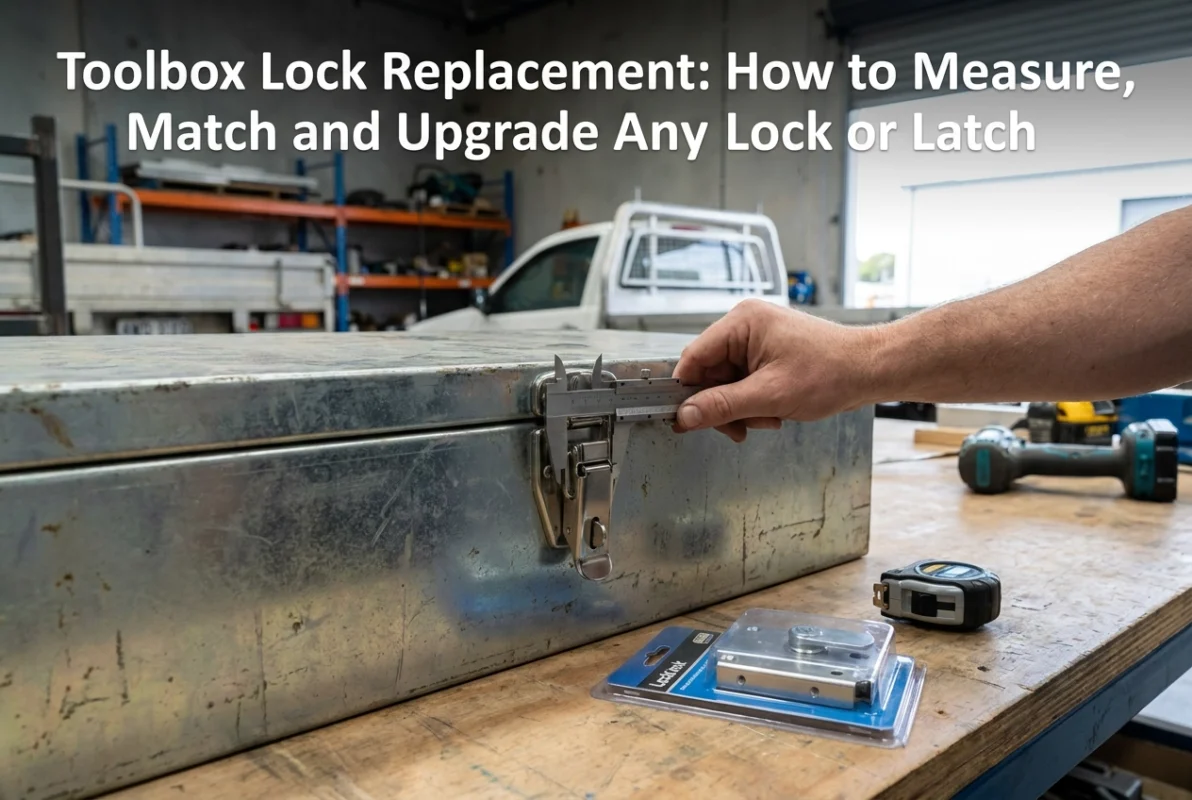
Toolbox Lock Replacement: How to Measure, Match and Upgrade Any Lock or Latch
Oct
A broken latch or a lock that’s been compromised doesn’t have to mean a frustrating search for a brand-specific replacement part that may no longer exist. The reality is that toolbox replacement locks are standardized hardware, and compatibility comes down to a handful of measurable dimensions, not the logo on your chest lid.
This guide takes a measurement-first approach to help you identify, select, and install a compatible or upgraded replacement lock for any toolbox, regardless of manufacturer. You will learn how cam length, cylinder diameter, and mounting hole size determine fit; how to read your existing lock before you order anything; and how to identify whether a failure was mechanical, security-related, or weather-related so you can choose a smarter replacement. The guide also covers keyed-alike systems for multi-lock setups, common installation errors that cause new locks to behave like the old ones, and a complete measurement checklist to take with you when you shop.
Whether your lock snapped, seized, or was forced, the path to a solid replacement starts with a caliper and the right questions, not a parts catalog. With your measurements in hand, you can match them against our locks and latches.
Why Measurement Beats Brand Matching Every Time
Cam locks are standardized hardware. Compatibility is determined by four measurements: cylinder length, cylinder diameter, mounting hole size, and cam rotation angle. The brand name stamped on the bezel or printed on the packaging has no bearing on whether a replacement lock will fit your toolbox.
This matters because searching for a brand-specific replacement is the single most common reason a straightforward lock swap turns into a wasted afternoon. Once you have your four measurements, the brand label is irrelevant. The lock that ships on a UTE canopy toolbox from the factory uses the same dimensional standards as locks fitted to ATMs, RVs, vending machines, and office furniture cabinets. Standard cam lock sizing includes a 5/8 inch (approximately 16 mm) cylinder length suited to thin panels, a 19 mm (3/4 inch) mounting hole, and 90-degree cam rotation, specifications you will find across replacement locks sold for a wide range of industries. The application label is marketing; the dimensions are what matter.
This cross-application compatibility is not a coincidence. Cam locks come in standardized sizes and configurations, which means replacement does not require matching the original brand or model. Standard cylinder lengths cover a predictable range of panel thicknesses: 5/8 inch suits thin panels, 7/8 inch suits mid-range panels, and 1-1/8 inch suits thicker panels. Those three sizes cover the vast majority of truck toolboxes and canopy lids in use today.
Specification-first selection also opens a decision that brand-matching forecloses entirely: the option to upgrade rather than just replace. If the original lock was a basic disc tumbler with no weather seal, a replacement event is the correct time to specify a pin tumbler cylinder with a neoprene gasket, not simply reorder the same part that failed.
This guide uses panel thickness as the primary decision variable. Measure that single dimension accurately and every other specification follows from it. Cylinder length is selected from panel thickness. Cam length is checked against internal clearance. Mounting hole diameter is confirmed against the panel. The process is sequential, not simultaneous, and it starts with a caliper on the lid panel, not a search engine query containing a brand name.
Understand the Components: What Each Part Does and Why Each Dimension Matters
Before selecting a replacement, you need to know what each component does and which of its dimensions actually controls compatibility.
The cylinder is the keyed barrel that passes through the toolbox panel. Its length must correspond to your panel thickness so the cam seats flush against the inside face when locked. Too short and the cam won’t engage the panel; too long and the cylinder protrudes on the interior, preventing proper seating. Standard cylinder lengths cover three panel thickness ranges, as introduced above. (The measurement steps in the next section show exactly how to apply these figures to your panel.)
The cam is the rotating tab on the interior end of the cylinder. When the key turns, the cam swings behind the panel lip to hold the lid closed. Cam length determines how far it reaches behind the panel; a cam that is too short won’t catch the lip, and one that is too long may foul internal hardware at full rotation. Cam rotation angle is standard at 90 degrees on most truck toolbox locks, but verify this if your toolbox has limited internal clearance near hinges or drawer slide hardware.
The mounting hole is the drilled aperture in your toolbox panel. The most common diameter for truck toolbox locks is 19 mm (3/4 inch), but some toolboxes use non-standard openings, so measure with a caliper rather than assuming the 19 mm standard.
The retaining nut and bezel clamp the cylinder to the panel from either side. The retaining nut’s thread pitch must match the replacement cylinder exactly, otherwise it won’t seat properly. The bezel, the flange on the outer face, must be large enough in diameter to fully cover the mounting hole. On exposed toolboxes, the bezel also compresses the weatherproofing gasket, so its diameter and surface finish affect how well the lock seals against rain and dust.
The keying system is selected at purchase, not adjusted after installation. Keyed-alike locks share a common key across multiple cylinders ordered from the same key series. Master-keyed systems add a supervisor key that opens all units. Individual keying means each lock has its own unique key. One critical distinction: many factory-fitted toolbox cylinders use a basic tumbler mechanism that cannot be rekeyed in the field, if you need to change the key, you replace the cylinder.
Toolbox latches are a separate hardware category. They secure lids mechanically without a key mechanism and have their own set of measurement variables: the mounting hole pattern (center-to-center spacing of the fixing screws), the latch throw distance (how far the tongue extends), and the strike plate offset relative to the lid frame rebate. A latch replacement that matches the hole pattern but not the throw distance will fail under load.
How to Measure Your Existing Lock or Latch
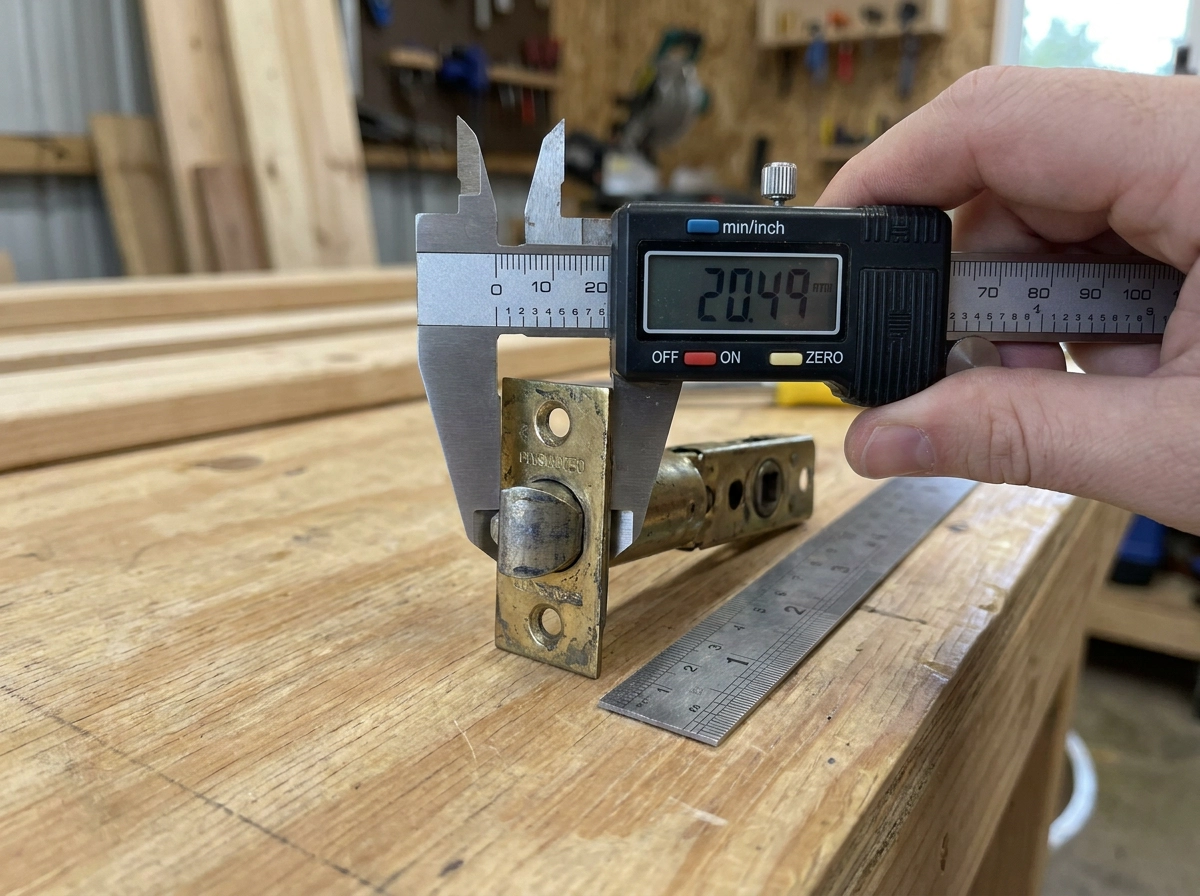
With your component dimensions understood, the next step is putting a caliper on the actual hardware. Every measurement below drives a specific selection decision.
Tools Required
Use a vernier caliper or digital caliper for all diameter and thickness measurements. A steel rule works for cam length and strike plate spacing. Never use a tape measure for cylinder diameter or hole size; a 1mm error in either dimension means a lock that won’t seat or a cam that won’t catch.
Step 1: Panel Thickness
Measure the sheet metal or aluminum at the lock location itself, not the overall lid or wall thickness. If the lid has an internal frame or reinforcement, exclude it; only the panel skin that the cylinder passes through counts. This single measurement determines your cylinder length.
Standard cam lock sizing maps to panel thickness as follows:
| Cylinder Length | Approx. Metric | Maximum Panel Thickness |
|---|---|---|
| 5/8 inch | ~16mm | 3/8 inch (9.5mm) |
| 7/8 inch | ~22mm | 5/8 inch (16mm) |
| 1-1/8 inch | ~29mm | 7/8 inch (22mm) |
Step 2: Mounting Hole Diameter
Measure the existing hole with your caliper jaws fully open against the hole edges. The most common diameter on truck toolbox locks is 19 mm (3/4 inch). Some toolboxes use non-standard openings, so measure with a caliper rather than assuming the 19 mm standard. Do not assume.
Step 3: Cylinder Outer Diameter
If your old cylinder is still in the panel, measure across the body below the bezel shoulder. The cylinder must fill the mounting hole without lateral movement; any slop allows the lock to shift under repeated use and accelerates wear on the retaining nut thread. The bezel or shoulder flange must fully overlap the hole opening on the outside face, with no gap exposed to weather.
Step 4: Cam Dimensions
If the original cam is intact, measure from the rear face of the cylinder body to the tip of the cam tab. Also note the rotation angle; 90 degrees is standard for most truck toolbox applications. Record whether the cam mounts on a D-shaped or slotted post, as this affects interchangeability between replacement cylinders.
If the cam is missing or damaged beyond measurement, your panel thickness figure from Step 1 is the fallback. Replacement cams are sized relative to cylinder length, so a correctly matched cylinder will ship with or support a correctly proportioned cam.
Step 5: Latch Measurements (If Applicable)
For toolbox latches rather than keyed cylinder locks, take three measurements:
- Strike plate hole pattern: center-to-center distance between the two mounting screw holes
- Latch throw distance: how far the tongue extends from the latch body in the closed position
- Lip or rebate depth: the depth of the recessed channel in the lid frame that the latch tongue seats into
Mismatching any of these three means the latch either won’t reach the strike or will apply uneven force across the lid seal, shortening both the latch and seal service life.
Identify the Failure Mode Before You Order a Replacement
With your measurements in hand, the next step is diagnosing what actually failed. The answer determines whether you replace the full assembly or just one component.
Cylinder Failure
The cylinder has failed if the barrel turns without moving the cam, the key snaps in the lock, or the barrel shows drilling damage from a break-in. In all three cases, replace the entire cylinder and cam assembly. The mounting hole and surrounding panel are almost always undamaged in a cylinder failure, so your existing hole diameter and panel thickness measurements remain valid for selecting the replacement.
Cam Damage
If the cylinder turns correctly under the key but the lid still does not lock, isolate the cam before ordering anything. Remove the retaining nut, withdraw the cylinder, and inspect the cam for cracking, bending, or sheared tabs at the drive slot. A cam that uses a standard tab-and-screw attachment can often be replaced independently without sourcing a full cylinder. This is a worthwhile check: a new cam costs significantly less than a full assembly, and the cylinder itself may have years of serviceable life remaining.
Mounting Damage
A lock assembly that feels loose, rocks in the panel, or has a retaining nut that spins without tightening points to mounting damage. Check whether the panel hole has been ovalized or torn, which is common when a box has been pried during a break-in. A hole that has deformed beyond the original diameter will not hold a standard-diameter cylinder securely. In that case, either a larger-diameter replacement cylinder or a backing plate repair is required before fitting a new lock. Fitting a new cylinder into a damaged hole without addressing the panel first will result in the same failure within weeks.
Latch Failure
A lid that bounces open under load, or a latch tongue that no longer reaches the strike, points to one of three causes: a worn latch body, a worn strike plate, or lid misalignment. Misalignment is particularly common after vehicle impacts or after repeated heavy load cycles on aluminium toolbox lids, which can cause the lid frame to rack slightly. Before replacing the latch, check whether the tongue contacts the strike plate centrally. If the engagement is off-center, adjusting the strike plate position may resolve the problem without a full latch replacement.
Corrosion Failure
A cylinder that is seized, pitted, or weeping white oxidation in coastal or high-humidity conditions has reached end of life. Most factory-fitted cylinders use a plated alloy finish that performs adequately in sheltered environments but degrades under sustained salt air or moisture exposure. Replacing a corroded cylinder like-for-like will produce the same outcome on a similar timeline. Specify a stainless steel or marine-grade cylinder instead, and confirm the replacement includes a neoprene gasket behind the bezel to prevent moisture ingress at the panel interface.
How to Select a Compatible or Upgraded Replacement Lock
Once you’ve identified what failed, the next decision is what to order. Work through these four variables in sequence before selecting any replacement.
Match your four measurements first. Cylinder length must correspond to your panel thickness; the measurement section covers how to confirm each of these figures before ordering. Cylinder diameter must fill your mounting hole without play, typically 19 mm (3/4 inch) for most truck toolboxes. Cam length determines whether the rotating tab reaches and clears the internal panel lip; measure the available swing clearance inside the box before assuming the original cam length is correct. Cam rotation angle is the fourth variable: 90 degrees is standard for most UTE toolbox applications, but confirm you have that clearance before ordering.
Material and Finish
Most factory-fitted cylinders use a plated alloy finish and perform adequately in sheltered or partially-exposed positions, such as underbody or cab-side mounting. For toolboxes mounted on exposed UTE trays, in coastal environments, or anywhere the lock faces direct rain, specify stainless steel cylinders fitted with neoprene gaskets. A plated alloy cylinder in those conditions will pit and seize, and a like-for-like replacement will face the same outcome on a similar timeline.
Security Grade
Many factory-fitted toolbox cylinders use a basic tumbler mechanism that cannot be rekeyed in the field, if you need to change the key, you replace the cylinder. They provide basic deterrence but offer limited resistance to picking or bypass. If you are replacing a lock after a break-in, or if the toolbox holds high-value equipment, specify a pin tumbler cylinder instead. Pin tumbler cylinders offer meaningfully greater resistance to picking and bypass than basic factory cylinders. The physical fitment dimensions are the same; the difference is internal, and the cost premium is modest relative to what the box contains.
Weather Sealing
Check whether the replacement lock includes a rubber or neoprene gasket behind the bezel face. This is not a secondary detail. On exposed UTE trays and dusty 4WD applications, an ungasketed lock allows fine dust and moisture to track directly into the cylinder and into the box interior through the mounting hole. A gasketed lock is the minimum acceptable specification for any outdoor toolbox application.
Replacement Latches
Toolbox replacement latches follow the same dimensional logic: match the strike plate hole pattern center-to-center and confirm the latch throw distance reaches the strike with positive engagement. If the original slam latch has been failing under load or vibration, consider upgrading to a compression latch or over-centre latch. Both designs actively draw the lid closed under tension rather than relying on momentum, which eliminates the bounce-open failure mode common on aluminium toolbox lids that flex under heavy loads.
Trailer Parts Direct stocks locks, latches, cylinders and associated hardware in both metric and imperial sizing across toolbox, canopy, drawer system and fabrication applications. Specifying by dimension rather than brand name makes the full range directly applicable to your replacement, regardless of what brand was originally fitted.
Keyed-Alike Systems and Upgrade Options When Replacing Multiple Locks
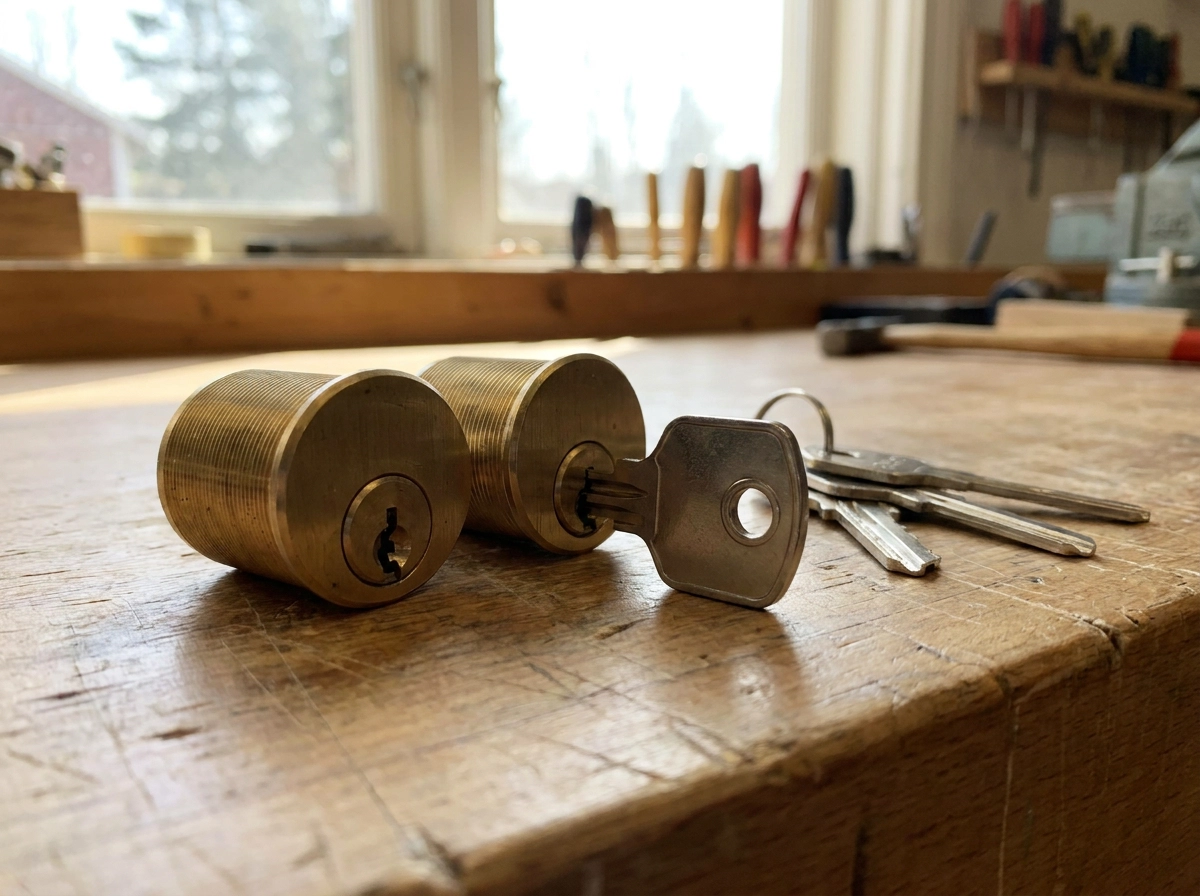
Once you have selected a compatible replacement based on your four measurements, the keying configuration of that replacement determines how it fits into your broader setup, especially if you are running multiple locks on the same vehicle.
What keyed-alike actually means
Keyed-alike means every lock in a set operates from a single key. It is not a modification applied after purchase; it is a specification ordered at the point of sale by selecting locks from the same key series. Many factory-fitted toolbox cylinders use a basic tumbler mechanism that cannot be rekeyed in the field, if you want single-key operation, you specify it when ordering.
Replacing one failed lock in a multi-lock setup
You have two practical options:
- Match to your existing key. Order a keyed-alike replacement from the same key series as your current locks. This requires either knowing your key code (sometimes stamped on the existing cylinder or key bow) or supplying a physical key sample to your supplier so they can match the series.
- Replace all locks simultaneously. Order a complete keyed-alike set in a new series. This is the cleaner solution if your key code is unknown, if multiple locks are aging, or if you are upgrading to a higher security grade at the same time.
Master-keyed systems for workshops and fleets
A master-keyed system adds a second tier: an operator key opens one specific box, while a master key opens every box in the set. For a tradie running two or three toolboxes across a fleet vehicle, this is worth the additional cost. It means a supervisor or site manager can access any box without holding every operator key. Specifying a master-keyed system requires planning before purchase; it cannot be retrofitted to standard keyed-alike sets.
The upgrade case: individual keying to keyed-alike
If your toolbox currently has independently keyed locks requiring separate keys for each, a replacement event is the lowest-cost opportunity to fix that. The price difference between a standard replacement cylinder and a keyed-alike set at this scale is typically small. Carrying one key instead of three is an immediate, practical gain.
Critical warning on online purchases
Do not assume a keyed-alike lock listed online will match your existing key series. Key series vary by manufacturer and are not interchangeable. Always confirm the key series with your supplier before ordering a single replacement, or order a full set and re-key the entire box in one step. Mismatched keying in a multi-lock setup is the most common installation error, and it has no field fix.
Installing Your Replacement Lock or Latch: Fitting Sequence and Common Errors
Once your keying decisions are made, fitting the replacement is straightforward, provided you follow the correct sequence and avoid the three errors that account for most callbacks.
Removing the Old Cylinder
If the original key is still available, insert it and rotate to the unlock position before doing anything else. This aligns the cam parallel to the cylinder body, which allows clean withdrawal through the panel. From inside the toolbox, undo the retaining nut using a cam lock spanner or needle-nose pliers on the nut flats. On most aluminum UTE toolbox lids, access is tight but manageable. Once the nut is off, push the cylinder out from the inside face and slide the cam free.
Test-Fit Before Final Assembly
Before threading the retaining nut, drop the new cylinder into the mounting hole without any hardware attached. Confirm it sits flush with no lateral movement. Then attach the cam temporarily and rotate it through its full arc by hand. Check that it clears any internal frame lips, drawer slide rails or bracket edges at every point in the sweep. A cam that fouls internal hardware mid-rotation will fail to lock, and you will not discover this after the nut is tightened.
Fitting Sequence
- If the replacement includes a rubber gasket or O-ring, place it over the cylinder body so it sits against the back face of the bezel. This is its only correct position: between the bezel and the outside panel surface. Do not fit it on the inside face or behind the retaining nut, where it provides no weather seal.
- Insert the cylinder through the panel from the outside face.
- On the inside face, slide the cam onto the cylinder tab. If an orientation arrow is marked on the cam, it must face the direction specified. An unmarked cam with an asymmetric profile should be oriented so it swings toward the panel lip when rotated to the locked position.
- Tighten the retaining nut firmly by hand, then apply only enough additional torque to seat the nut, avoid over-tightening, which risks cracking the bezel or deforming the hole in thin sheet.
Common Errors to Avoid
Wrong cam orientation. The lock turns freely but never catches the panel lip. Remove the nut, rotate the cam 180 degrees, refit. This is the most frequent single error.
Cylinder too long for the panel. The cam protrudes beyond the inside panel face even at the locked position, leaving no clamping engagement. The fix is selecting the correct cylinder length to match panel thickness, covered in the measurement section.
Overtightening on thin aluminum. The bezel cracks or the hole deforms. Seat the retaining nut firmly without forcing it beyond snug.
Latch Replacement
Align the latch body to the existing hole pattern and fasten lightly. Close the lid and check that the latch tongue contacts the center of the strike plate with even, symmetrical engagement across its full width. Adjust the strike plate position before final fastening. A strike plate even slightly off-centre will concentrate load on one edge of the latch tongue, accelerating wear under road vibration.
Measurement Checklist and Key Takeaways
The points below summarise the decisions covered in detail throughout this guide, use them as a pre-order verification pass, not a first read.
Four measurements to confirm before you order anything:
- Panel thickness at the lock location (not the overall wall): this selects your cylinder length, as mapped in the measurement section above.
- Mounting hole diameter: 19 mm (3/4 in) is the most common size on truck toolboxes. Some toolboxes use non-standard openings, so measure with a caliper rather than assuming the 19 mm standard.
- Cylinder outer diameter: must fit the hole without slop, and the bezel shoulder must fully cover the hole face.
- Cam rotation clearance: confirm that 90 degrees of swing is available inside the box before the cam contacts frame members or drawer hardware.
Diagnose before you order. Identifying the failure mode, as covered in the diagnosis section, determines whether you replace the full assembly or just one component, and whether panel repair is needed before any new lock will hold.
Match material to environment. Most factory-fitted cylinders use a plated alloy finish, adequate for sheltered positions. For exposed UTE trays or coastal conditions, specify a stainless steel cylinder with a neoprene gasket, as detailed in the selection section.
Use the replacement event strategically. Fitting a new cylinder is the lowest-friction moment to upgrade security grade or switch to a keyed-alike set, options covered in full in the selection and keyed-alike sections above.
Trailerpartsdirect.com.au stocks locks, latches, cylinders and associated hardware dimensioned in both metric and imperial. Take your four measurements, apply the product range filters by dimension, and you will locate a compatible or upgraded replacement without needing a brand reference number or an OEM part code.