
Uncategorized
Under-Tray vs In-Canopy Water Tanks for Ute Builds: Which Mounting Works for You?
Oct
Water is non-negotiable on a serious ute build, but where you mount your water tank shapes everything from handling to usable load space. It is one of the most consequential decisions you will make, yet most builders treat it as an afterthought. The reality is that an under tray water tank and an in-canopy tank are not just different locations; they represent fundamentally different philosophies about how your ute should perform and what it should carry.
Get the mounting position wrong and you are either sacrificing payload room you cannot afford to lose, adding top weight that degrades handling, or simply running out of water on day three of a remote trip. Get it right and the tank becomes invisible, doing its job without compromising anything else.
This guide cuts through the noise by comparing both approaches across the factors that actually matter: realistic capacity constraints, weight distribution, chassis clearance requirements, installation complexity and how your intended use should drive the decision. Whether you are building a hard-working tradie rig or a purpose-built tourer, you will leave with a clear framework for choosing the mounting method that suits your specific build.
The Core Trade-Off Every Ute Builder Faces
Where you mount your water tank is one of the most consequential decisions in a ute build, and it needs to be made before fabrication starts, not after.
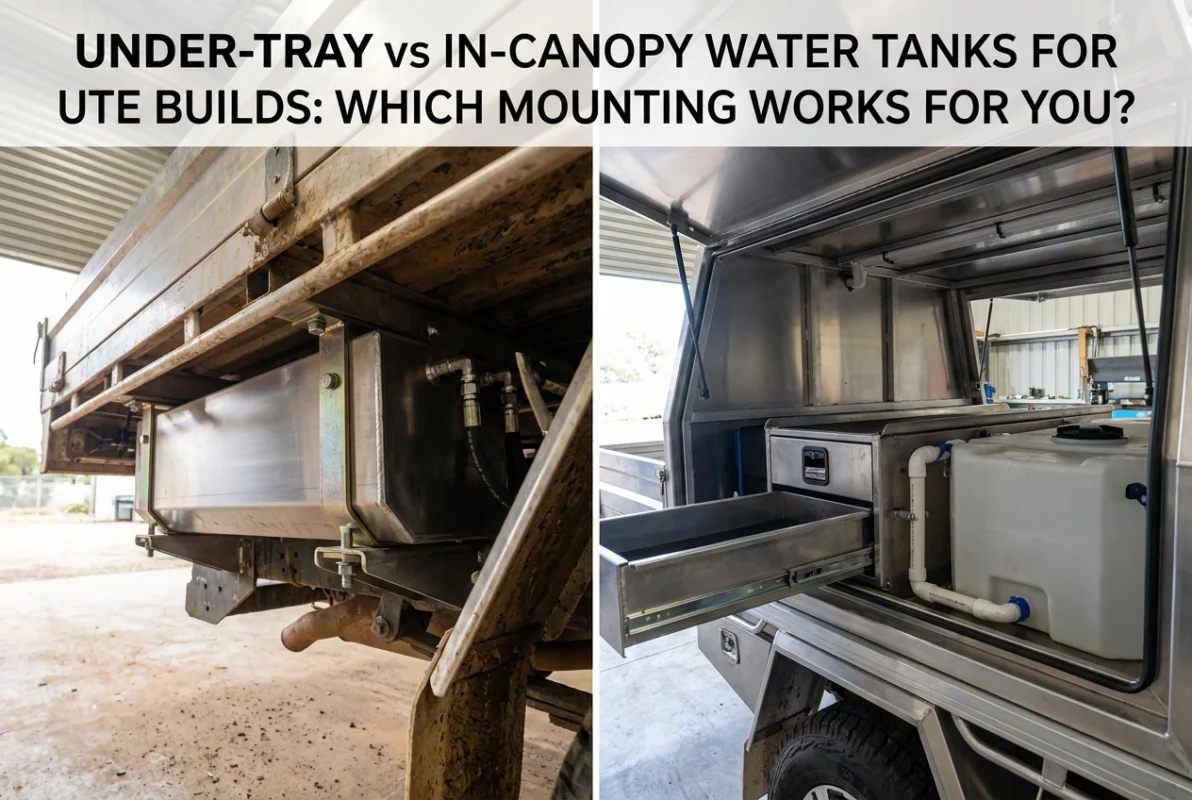
Under-tray tanks use the otherwise dead space between the chassis rails and the underside of the tray floor. That space earns nothing if left empty; a tank there preserves every cubic centimetre of your tray or canopy for tools, gear, and supplies. In-canopy tanks remove the ceiling imposed by chassis clearance and allow larger volumes, typically 60L and above, but they permanently claim usable floor or sidewall space inside the canopy. That trade-off is real and irreversible once the build is finished.
The mounting location also shapes how the vehicle drives. A tank mounted low and over the rear axle keeps the centre of gravity where it belongs. The same mass positioned at canopy floor height raises the centre of gravity and shifts weight rearward, both of which degrade steering response and body roll on corrugated tracks. On a loaded touring ute, that difference is noticeable.
An independent ute-mounted water source carries value even when you are towing a camper trailer or caravan with its own onboard storage. The ute tank remains accessible when the trailer is unhitched, and it provides a backup if the trailer system fails in a remote area.
Getting this decision right the first time matters. Retrofitting a tank to a completed tray or canopy typically means cutting, re-welding, or remaking bracketry. The rework cost, in time and money, far exceeds the effort of planning the installation into the original build.
Under-Tray Water Tanks: What You Can Realistically Fit
Most under-tray water tanks for utes fall in the 30L to 50L range, with 50L representing the practical ceiling for the majority of tray configurations. Beyond 50L, the geometry simply stops working for most utes without significant compromise.
Chassis clearance is the controlling variable. The usable space between the top of the chassis rails and the underside of the tray crossmembers determines what tank profile you can physically fit. That clearance varies across popular dual-cab platforms:
| Model | Approximate Under-Tray Clearance |
|---|---|
| Toyota HiLux (2015+) | 180-220mm |
| Ford Ranger (PXII/PXIII) | 190-230mm |
| Isuzu D-Max (RG 2020+) | 200-240mm |
| Mazda BT-50 | 200-235mm |
These figures are a starting reference only. Variations in tray type, crossmember depth, and individual build specifications mean you must measure your specific vehicle before specifying a tank.
Tank height, not footprint, is the binding constraint. A low-profile 50L tank with a height of around 120-140mm can fit comfortably in the same space that rejects a taller tank of identical volume. When comparing tank options, check the height dimension first.
Crossmember spacing defines your footprint options. Tanks generally need to sit between crossmembers rather than spanning them unsupported. If the tank footprint exceeds the bay between two crossmembers, additional bracing or a custom cradle becomes necessary to distribute the load correctly.
Why Under-Tray Positioning Wins on Weight Distribution
Fitting a tank in the available clearance is only half the equation. Where that mass sits in the vehicle determines how the ute actually behaves once it is loaded and moving.
Positioning the tank beneath the tray keeps the weight low and places it over or forward of the rear axle, which is the optimal load zone for a laden ute. That location minimises the lever-arm effect that off-centre or elevated mass creates on suspension and steering geometry.
Elevated and rear-mounted tanks work against vehicle dynamics in two ways simultaneously. They raise the centre of gravity, increasing body roll in corners, and shift mass rearward, which lightens the front axle and reduces steering response. Both effects are compounded on corrugated outback roads, where suspension is already working hard to maintain contact and directional stability.
The weight involved is not trivial. A full 50L tank carries approximately 50kg. At tray height or above, that mass generates meaningfully more rotational force around the vehicle’s roll axis than the same tank mounted 300-400mm lower under the tray. On rough terrain, the difference in how the vehicle feels and responds is noticeable.
This is why under-tray installation is consistently regarded as one of the highest-value 4WD ute modifications: it adds genuine capability without degrading the driving experience or handling envelope.
For canopy builds, the under-tray position delivers a second advantage. The canopy interior stays completely clear for drawers, sleeping platforms, or tool storage. The water system occupies chassis space that would otherwise go unused, so nothing in the load area is compromised.
In-Canopy Water Tanks: Capacity Gains and the Real Costs
Where the under-tray approach reaches its ceiling, in-canopy mounting picks up. Removing chassis clearance as the governing constraint opens capacity considerably: canopy floor and sidewall installations can accommodate tanks from 60L up to 100L or beyond, limited instead by canopy floor dimensions and available payload budget.
The use case that justifies this trade-off is expedition and extended remote-area touring, where water resupply points may be days apart and self-sufficiency is a genuine requirement, not a preference.
The costs are real and worth quantifying before committing.
Weight and centre of gravity are the primary concerns. Water weighs 1kg per litre, and every kilogram in an in-canopy tank sits at canopy floor height or above. A 100L tank adds 100kg at a centre of gravity height roughly 400-600mm higher than an equivalent under-tray installation. That mass penalty directly affects the handling dynamics covered in the previous section.
Payload consumption compounds the issue. Most one-tonne utes carry a payload rating of 900kg-1,100kg (varying by GVM specification). A 100L tank, full, consumes 100kg of that budget before a single tool, recovery item, or camp supply goes in. That represents 10-15% of total payload capacity committed to water alone.
Load area sacrifice is the third constraint. A typical 80L rectangular tank with a footprint around 600mm x 400mm x 350mm claims a section of canopy floor that would otherwise fit a full-width drawer system or dedicated recovery gear storage. That floor space, once occupied, is gone for the life of the build.
Work Ute vs. Touring Ute: Matching Mounting Method to Use Case
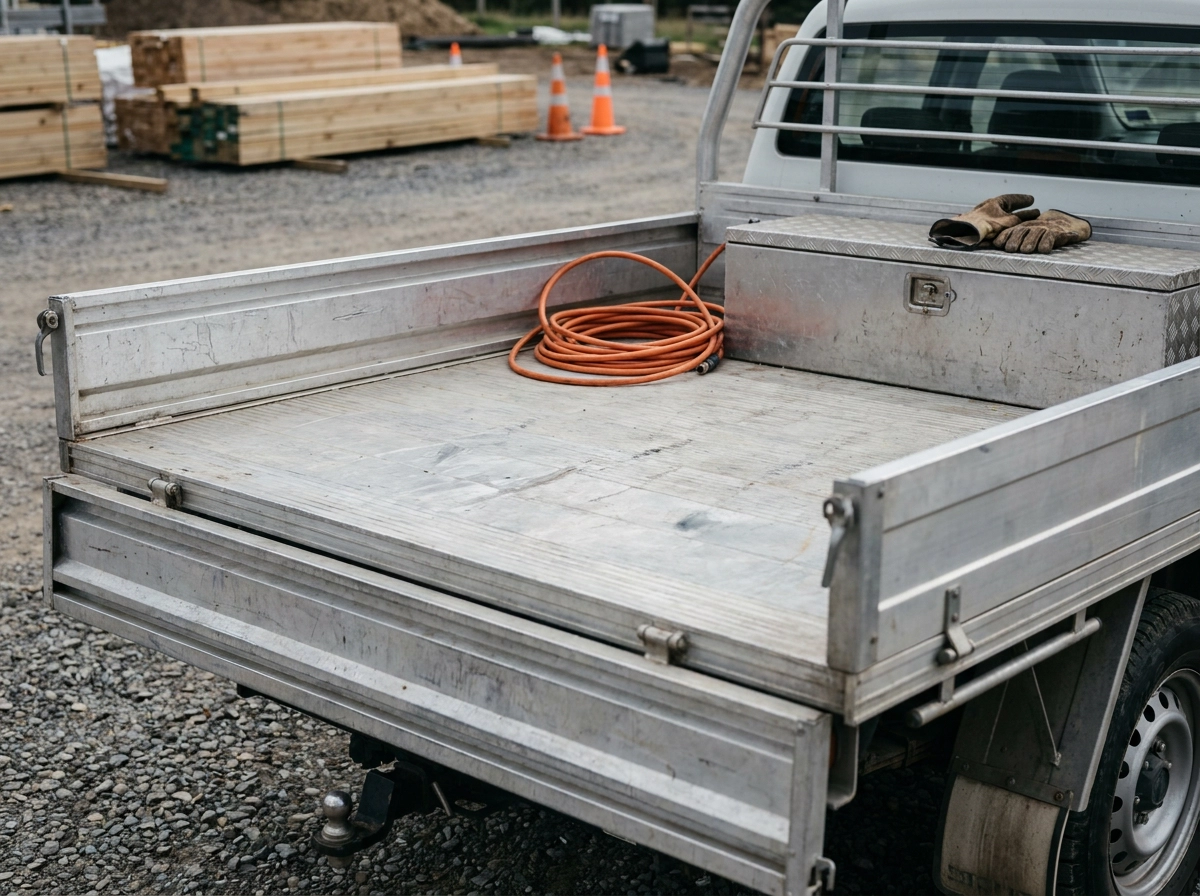
Those trade-offs between payload, load area, and water volume mean different things depending on how the ute actually earns its keep.
Work tradies need the tray clear and the vehicle handling consistently, regardless of how much timber, pipe, or equipment is loaded on any given day. An under-tray tank in the 40L to 50L range covers on-site water needs without claiming a single millimetre of tray space or adding height to the load.
Weekend tourers on day trips through to three- or five-day remote runs are well served by a 50L under-tray tank for most itineraries. For the occasional longer stint, a portable jerry or trailer-mounted tank supplements the fixed supply without requiring a permanent in-canopy commitment.
Expedition and remote-area builds are where the in-canopy tank earns its payload and space cost. If the route genuinely limits resupply, such as a Simpson Desert crossing or Cape York in the dry season, carrying 80L to 100L independently is a safety consideration, not just a convenience.
Utes towing caravans or camper trailers with onboard water storage are well served by the under-tray approach on the vehicle itself. The trailer carries bulk water; the ute tank provides an independent supply for camp use or emergencies without relying on the tow connection.
Dual-tank builds, pairing an under-tray primary with a smaller auxiliary in the canopy or on the tray, suit builders who want genuine flexibility across both working and touring use without permanently sacrificing the full canopy floor.
Hardware Requirements for Each Mounting Method
Whichever mounting location suits your build, the hardware holding the tank in place carries the actual load, and that hardware needs to be specified correctly for the application.
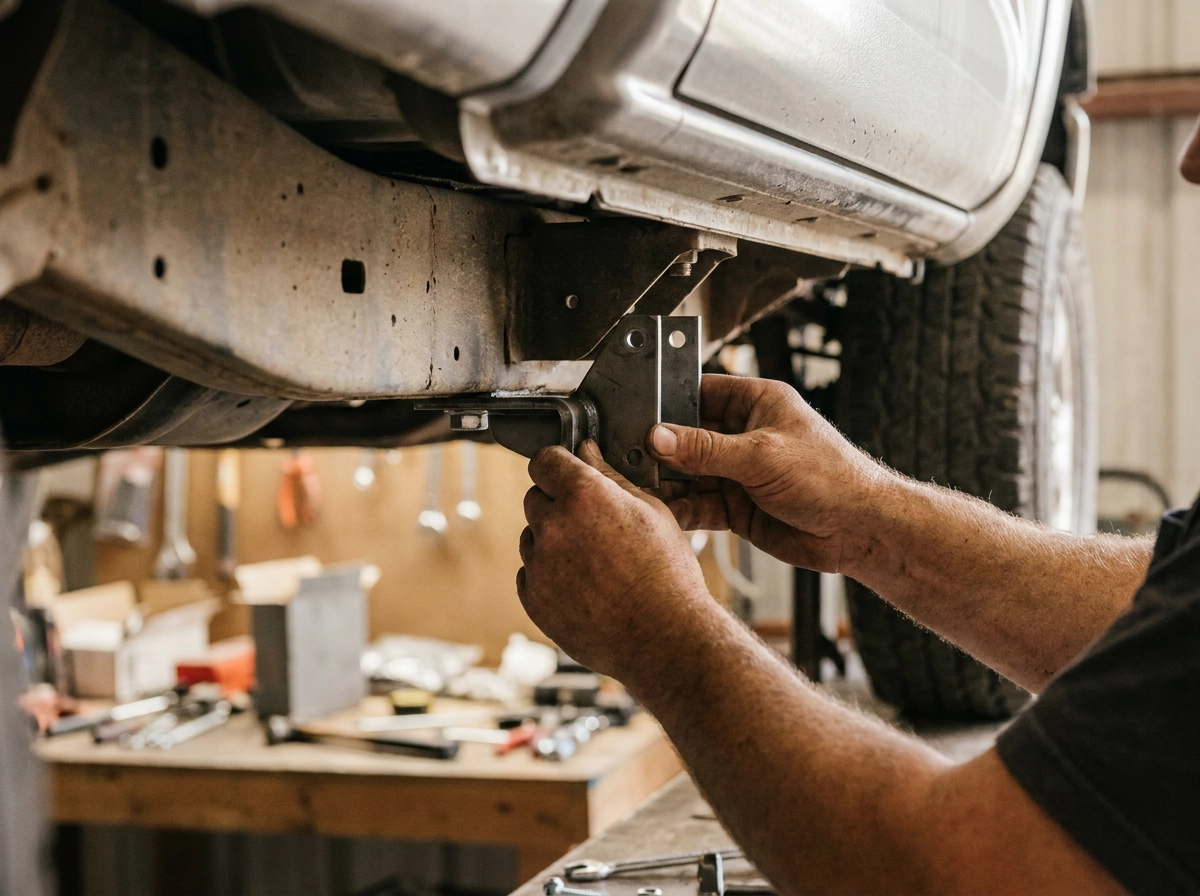
Under-tray mounting demands steel or aluminium cradles or brackets fabricated to suit the tank profile, combined with rubber-lined straps that cushion the tank against constant road vibration. Fasteners should be stainless steel rated for the combined static and dynamic load; a full 50L tank weighs 50kg, and corrugated outback roads multiply that through sustained shock loading.
Access to under-tray fittings typically requires a drop-down panel or inspection hatch in the tray floor. Gas struts sized to the panel weight allow one-handed operation and prevent the door dropping hard on uneven ground. Rubber seals around the panel perimeter are non-negotiable on any vehicle used on unsealed roads; fine bulldust infiltrates gaps that would stop water entirely, and a poorly sealed hatch will coat fittings and valves in abrasive grit within a single trip.
In-canopy tanks must be positively located against sliding under hard braking and cornering. Depending on whether the installation is permanent or semi-permanent, the relevant hardware includes heavy-duty drawer slides, locking latches, and anti-rattle mechanisms to eliminate movement and noise.
Both mounting methods benefit from locking fittings on fill points and outlet valves. On work vehicles especially, an unsecured outlet valve is an accidental discharge waiting to happen.
Installation Complexity and Fabrication Considerations
With the hardware selection covered, the next consideration is how straightforward each approach actually is to execute.
Under-tray installation carries the higher fabrication complexity. Chassis clearance must be measured accurately before any tank or bracket is specified, and inlet and outlet plumbing must be routed through or around the tray structure without creating abrasion points where hoses contact steel edges. Any penetration through the tray floor is a potential leak or dust entry point if not properly sealed.
Professional fabricators almost always treat under-tray tanks as a planned-in element of a full tray build. Retrofitting to an existing tray is achievable, but it typically demands more precise measurement work and may require modifying the tray floor to create plumbing access or inspection openings.
In-canopy mounting is mechanically simpler at the installation stage, but shifts complexity to the plumbing. Outlet lines must run from the canopy floor to pumps and tap points that are often positioned at the rear of the vehicle, increasing total hose length and the number of fittings in the system. Each additional fitting is a potential failure point, particularly under sustained off-road vibration.
Regardless of mounting method, stainless steel or marine-grade hardware is the correct specification. The combination of constant moisture exposure, road vibration, and off-road shock loading eliminates the case for anything lighter.
Both approaches also require compliance in the bracket system. Australia’s temperature range causes polyethylene tanks to expand and contract noticeably. Fully rigid mounting transfers that stress directly to tank walls and fittings; brackets with rubber-lined contact points absorb the movement and extend tank service life.
Decision Matrix: Choosing the Right Approach for Your Build
With fabrication and hardware decisions resolved, the final step is matching mounting method to your specific build.
Choose under-tray if:
- Chassis clearance on your ute allows at least 120mm of usable height
- Your water requirement is met by 40L–50L
- Preserving full tray or canopy load space is a priority
Choose in-canopy if:
- Your use case demands more than 60L independent capacity
- Under-tray clearance on your model is insufficient for a useful tank profile
- The build is a dedicated expedition vehicle where load area is already committed to sleeping or equipment systems
Choose a dual-tank configuration if:
- You need flexibility across both work and touring use
- You want redundancy in your water supply
- A single location cannot deliver the required total volume within chassis and payload constraints
By use case:
Work tradies: Under-tray 40L–50L is the default recommendation in almost every scenario. It keeps the tray clear, the vehicle balanced, and adds no complexity to daily operations.
Weekend tourers: Under-tray 50L covers most trips comfortably. Only consider in-canopy if your regular itineraries include multi-day remote sections without any water resupply opportunity.
Expedition builders: In-canopy or dual-tank approaches are justified. Model your payload budget carefully before committing to tank size. Water, fuel, and gear combined can approach or exceed GVM on a heavily loaded one-tonne ute; at roughly 1 kg per litre, a 100L tank full represents a significant payload commitment before anything else is loaded.
Making the Right Call for Your Ute Build
With your mounting location decided, the remaining factors are consistency and hardware quality, both determine whether the installation performs over years of corrugated tracks and temperature extremes.
For most ute builders, under-tray is the right starting point. It uses otherwise dead chassis space, keeps mass low and over the axles, and leaves the tray or canopy entirely free for payload. In-canopy mounting earns its place in expedition and remote-area builds where volume requirements genuinely exceed what chassis clearance can deliver beneath the tray, not as a default, but as a deliberate trade-off.
Before specifying any tank, measure your actual chassis clearance. Published ground clearance figures vary significantly depending on how manufacturers measure them, and real-world variation between build dates, suspension types, and tray configurations is common. A 10mm discrepancy between the spec sheet and your specific vehicle can be the difference between a tank that fits cleanly and one that grounds out on the first rough track.
Hardware is where long-term reliability is won or lost. Correct mounting brackets, quality rubber seals, gas struts sized appropriately for access panels, and rated fasteners are not components to value-engineer. Vibration, moisture, and shock loading are constants in Australian 4WD use; undersized or inappropriate hardware fails under exactly those conditions.
Trailer Parts Direct stocks the mounting hardware, gas struts, rubber seals, locking latches, and fabrication components that underpin both under-tray and in-canopy installations. Contact the team with your build specifications for hardware recommendations matched to your application.
Conclusion
The right water tank mounting decision comes down to four fundamentals: your available chassis clearance, your actual capacity requirements, your primary use case, and the quality of hardware holding everything together.
Under-tray mounting remains the stronger choice for most builds, preserving payload space while keeping weight low and centered. In-canopy solutions serve genuine expedition demands, but only when clearance constraints make under-tray installation impossible or insufficient.
Never skip the physical measurement step. Spec sheets are a starting point, not a guarantee.
Most importantly, hardware quality determines whether your installation lasts one trip or ten years of hard use. Brackets, seals, struts, and fasteners deserve the same attention as the tank itself.
Get your build specifications together, contact the team at Trailer Parts Direct, and get hardware recommendations matched to your exact application. A well-specced installation pays for itself on the first serious track.