
Blogs
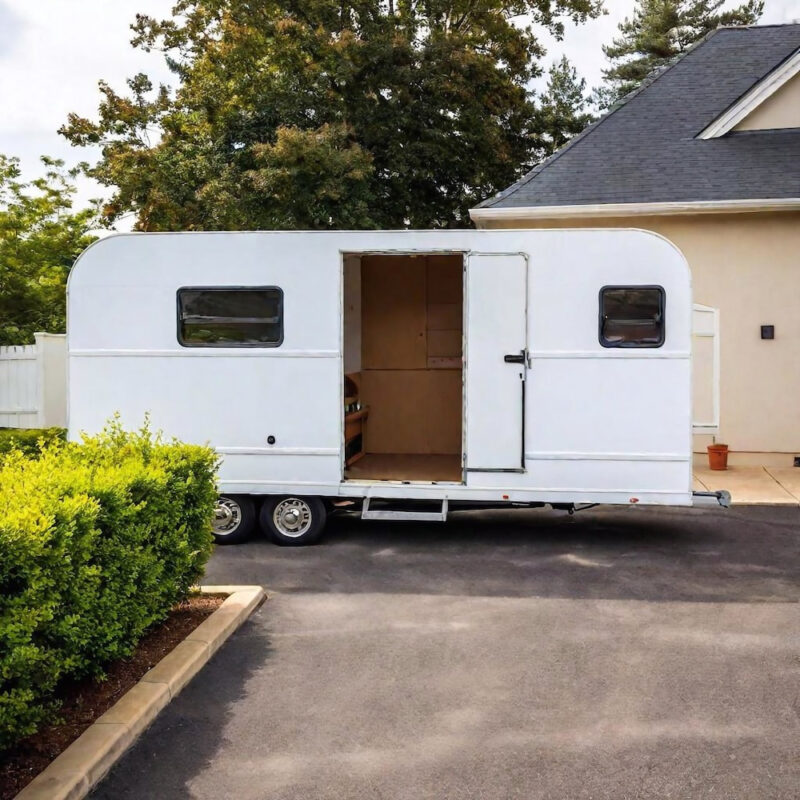
Replace your caravan door seal and keep the dust out for good
Jun
There’s nothing better than rolling out onto the open road, chasing the coastline, or kicking up a bit of red dust on a remote track. But if your caravan door seals are cracked, squashed, or just plain tired from years of use, you’ll quickly find your pristine interior isn’t so pristine anymore. Outback dust and surprise rainstorms have a knack for sneaking in through the smallest gaps.
At Trailer Parts Direct, our goal is to help you get the best out of your vehicle. Swapping out a worn caravan door seal is honestly one of the simplest and smartest ways to protect your caravan and keep your adventures stress-free.
Let us walk you through how to measure, choose, and install your new door seals so you can hit the road like a pro—no dust, no leaks, no worries.
Step 1: Figure out which seal profile you’re dealing with
Not all caravan doors seal the same way, so before you grab your tape measure, take a good look at how your current door keeps the elements out. We stock a huge range of premium foam and rubber seals built for tough Aussie conditions, so you’re covered no matter what setup you’ve got.
You will generally be matching your door setup to one of three categories:
- Pinchweld top-seal: The compressible rubber “bubble” sits directly on top of the steel-reinforced grip channel. This is used when the door closes flat against the seal.
- Pinchweld side-seal: The bubble sits off to the side of the channel. This is perfect for doors that slide past a frame or require a lateral compression point.
- Self-adhesive D-seals: These lack the metal gripping channel and rely on high-grade adhesive backing to stick flat against a clean surface.
Step 2: Get your measurements (measure twice, buy once)
If you pick the wrong size seal, your door either won’t close properly or you’ll have to wrestle it shut every time, which is a surefire way to wreck your locks and your patience.
Grab a digital calliper or a trusty ruler and jot down the below three key measurements.
The grip: how thick is your metal edge?
If you’re working with a pinchweld profile, measure the thickness of the metal lip where the seal grips. Our pinchweld edging and seals come in small, medium, and large sizes to fit your edge perfectly. For example, if your metal edge is 2mm thick, a small or medium seal will do the trick.
The bubble: sizing up the gap
Measure the width of the rubber bubble itself when it is not compressed. Next, measure the actual physical gap between your closed caravan door and the frame. Your new bubble seal should be roughly 2 mm to 3 mm larger than the gap to ensure it compresses tightly without crushing the rubber flat.
The run: calculating your total length
Measure the full perimeter of your door frame, and always add an extra 30 cm to 50 cm to your total for corners, slip-ups, and trimming. Trust me, it’s way better to snip off a bit of excess than to find yourself 10cm short at the finish line!
Step 3: Time to swap them out
The step-by-step process
1. First, pull out the old seal and give the track a good clean.
Pull out the old pinchweld or D-seal from the track. Use a scraper to get rid of any stubborn glue, then wipe the whole metal edge with isopropyl alcohol. If you leave any old adhesive or dust behind, your new seal won’t sit right.
2. Begin installation from the bottom center
Start installing your new pinchweld at the bottom centre of the door frame. That way, the join line sits at the lowest point, stopping rainwater from sneaking in through the top or sides.
3. Tap the pinchweld firmly into place
Push the steel-reinforced channel onto the metal lip. Use a rubber mallet to gently tap it into place around the corners. Don’t stretch the rubber as you go—press it firmly into the corners so it doesn’t bridge or pull away later.
4. Make the final cut and seal the join
Grab some sharp, heavy-duty shears and cut the pinchweld so both ends meet snugly. For a dust-proof finish, run a small bead of automotive adhesive where the two ends butt together.
Pro tip: If your door is tough to close after fitting the new seal, don’t stress. Quality rubber has a memory and needs a few days to settle in. Just keep the door latched for 48 hours and let the seal mould itself to your caravan’s alignment.
Ready to give your caravan a fresh seal?
Don’t let a tired, brittle door seal spoil your next adventure. Check out our huge range of UV-stabilised pinchweld top seals, side seals, and self-adhesive D-seals at Trailer Parts Direct and lock your build down tight against the elements.