
Uncategorized
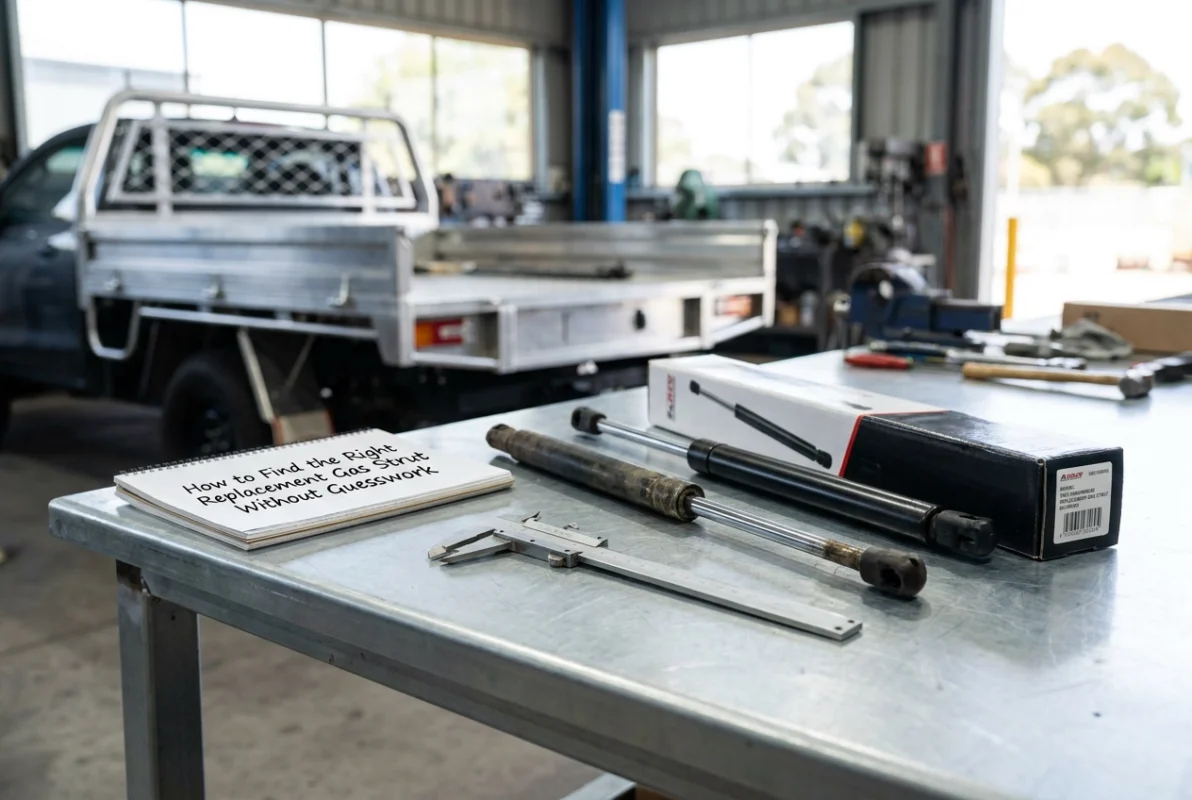
How to Find the Right Replacement Gas Strut Without Guesswork
Oct
Your gas strut has given up the ghost. Maybe it no longer holds your canopy lid open, or your toolbox lid drops without warning, or that caravan hatch just refuses to stay put. Whatever the application, a failed gas strut is frustrating and replacing it is well within reach for most DIYers.
You just need to know what you are looking for before you start shopping. That means measuring correctly, understanding your end fittings, and making sure the replacement you choose actually matches what you already have. If you would rather start from the range, you can browse our gas struts first.
This guide walks you through the entire process, from spotting the signs of a worn strut right through to using our Gas Strut Replacement Finder tool to lock in the right part. You will also learn what to have ready before you measure, how to handle fittings and mounting styles, and what to do when the specs on your old strut are too worn to read. By the end, you will have everything you need to get this done properly the first time.
This Guide Is for Replacements Only, Not New Installs
If your gas strut has given up the ghost and you need a replacement, you’re in the right place. This guide is written specifically for one job: helping you identify a matching replacement for a gas strut that’s already worn out, failed, or damaged.
This is not a guide for sizing a strut on a brand-new installation. If you’re building something from scratch and need to work out what strut to fit, this guide won’t help with that, and you’ll need to look elsewhere.
The challenge with replacements is actually pretty specific. You’re not designing anything; the specs already exist on the strut in front of you. The job is simply matching them accurately so your replacement fits and performs exactly like the original. Get the measurements right, and the rest is straightforward.
This guide covers a wide range of applications, including:
- 4WD canopy lids and rear doors
- Ute toolboxes
- Caravans and camper trailer hatches
- Trailer lids and ramp gates
- Storage systems and workshop cabinets
By the time you’ve worked through the steps here, you’ll know exactly which measurements and specs to gather before using the Trailer Parts Direct gas strut replacement finder tool. That tool does the matching; this guide gets you ready to use it with confidence.
Signs Your Gas Strut Actually Needs Replacing
Before reaching for a replacement, it helps to confirm the strut itself is actually the problem.
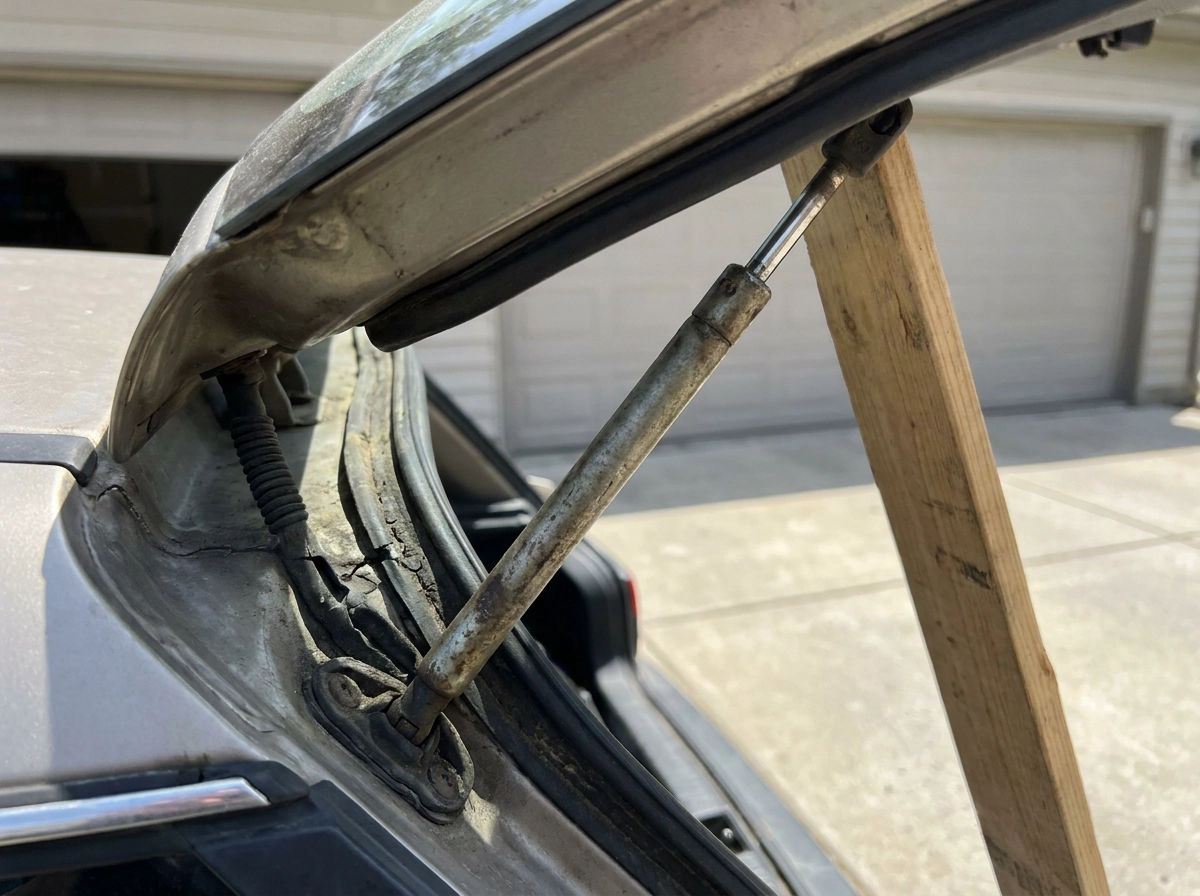
The most obvious sign is loss of holding force. If your lid, door, or panel no longer stays open on its own, or slowly drifts closed under its own weight, the strut has lost internal gas pressure. This often happens gradually: it lifts a little slower, holds a little lower, and eventually gives up entirely.
Visible oil or grease weeping around the shaft or seal is a clear sign of internal seal failure. Once the seal goes, gas pressure escapes and the strut can no longer do its job. Leaking is one of the most common gas strut failure modes.
Shaft corrosion or pitting is especially common in Australian outdoor applications. Caravan hatches, ute canopies, and trailer lids cop salt air, UV, and moisture. A pitted or scratched shaft accelerates seal wear, which leads back to pressure loss.
Physical damage such as a bent shaft, cracked body, or broken end fitting means the strut is beyond saving. These need a direct replacement, not a repair.
Noisy or jerky movement during actuation can indicate internal wear or a mounting alignment issue, inspect both the strut and its brackets if this symptom appears.
Before assuming the strut has failed, rule out a few other culprits. Loose or cracked mounting brackets, worn end fittings, and misaligned hinges can all mimic strut failure. Check those first. Also worth noting: if accessories have been added to a lid since the original struts were fitted, the extra weight may simply be more than the original struts were rated for, and no amount of strut replacement will fix a load mismatch.
What to Have Ready Before You Measure
Once you’ve confirmed the strut is the problem, a few minutes of preparation will save you from taking measurements twice.
Tools to grab before you start:
- A steel ruler or vernier caliper for accurate millimetre measurements
- A permanent marker or masking tape to mark reference points on the strut body
- A notepad or your phone to record the specs as you go
Prop the panel open first. If the strut supports a heavy toolbox lid, canopy door, or trailer hatch, secure the panel open with a prop rod or clamp before you touch the strut. A failing strut can give way without warning, and a heavy lid dropping onto your hands or head is a serious injury risk.
Measure it in place where possible. An installed strut gives you easy access to both the fully extended and fully compressed positions, which are the two key measurements you need. Removing the strut first makes this harder than it needs to be.
Already off or broken? No problem. You can still take all the measurements you need directly from the strut body and shaft. The steps in the next section walk you through exactly how.
Check whether your application uses two struts. If it does, inspect both now. Paired struts typically wear at the same rate, and replacing only one often creates uneven force across the panel, putting extra load on the new strut and accelerating its failure. Replacing both at the same time is the smarter call.
How to Measure Your Existing Gas Strut
With your tools ready and your panel safely propped, here are the four measurements you need to take.
Step 1: Measure the extended length
Open the panel fully so the strut is at its longest. Measure from the centre of the top mounting hole to the centre of the bottom mounting hole, in millimetres. This is your most important figure, get it right and you’re most of the way there.
Step 2: Measure the compressed length
Close the panel so the strut is fully compressed, then take the same centre-to-centre measurement. The difference between these two figures is the stroke length. Both numbers matter, so write them both down.
Step 3: Measure the body diameter and shaft diameter
Use your caliper to measure the outer tube (the body) and the inner rod (the shaft). Common body diameters you are likely to encounter include 15 mm, 19 mm, 22 mm, and 28 mm, check your caliper reading against the product listings to confirm compatibility. These dimensions affect which end fittings will be compatible with your existing brackets.
Step 4: Locate the force rating
The Newton rating will be stamped or printed on the strut body, record whatever figure is visible, as force ratings vary widely by application. If the marking is worn or unreadable, the replacement finder tool can help narrow things down from your other measurements.
Step 5: Record everything
Before moving on, confirm you have four values noted: extended length, compressed length (or stroke), body diameter, and force rating. These are the core inputs for finding your match.
Understanding Gas Strut End Fittings and Mounting Styles
Once you’ve recorded your measurements, the next thing to nail down is the end fitting type on each end of your strut. Getting this wrong means the strut won’t mount into your existing brackets, regardless of whether the length and force rating are a perfect match.
Here are the four main types you’ll encounter:
- Eyelet fittings are a simple looped end with a hole through it. A pin or bolt passes through the eye and into the bracket. Eyelet fittings are widely used across a range of vehicle and trailer applications.
- Clevis fittings have a forked or U-shaped end that pins through both sides of the fork. This two-sided connection handles lateral loads well, making it the go-to for heavier-duty toolbox and industrial setups.
- Trunnion fittings use a cylindrical barrel that mounts sideways through a slot in the bracket, check your existing hardware carefully if you believe this is the fitting type, as configurations vary.
- Ball and socket fittings snap onto a ball stud fixed to the bracket or panel, allowing slight angular movement during actuation.
The critical thing to understand: a strut with the right force rating but the wrong end fitting simply won’t fit your existing brackets without modification. End fitting type is a matching requirement, not an afterthought.
Also check whether both ends of your strut are the same type or different. Mixed configurations, such as an eyelet on one end and a ball socket on the other, are common and must be matched exactly for a direct replacement.
What to Do When the Specs Are Worn or Unreadable
Even when you’ve confirmed the fitting type, the force rating can still be a mystery. Corroded struts, faded ink, and worn stamping are common on anything that’s lived outdoors in Australian conditions. Here’s how to work around it.
Focus on what you can measure. Extended length, stroke, and body diameter are all readable with a calliper regardless of how badly the markings have degraded. These physical dimensions will narrow your options significantly, even without a confirmed Newton rating.
Check the original equipment documentation. If the strut came fitted to a manufactured canopy, toolbox, or trailer, the manufacturer may have a parts list or spec sheet that identifies the original strut rating. A quick call or email to the manufacturer with your product’s model and build year can save a lot of guesswork.
Look beyond the strut body. Some canopy and toolbox manufacturers stamp strut specs, or a part number, directly onto the lid frame or hinge plate. Have a close look at the surrounding metalwork before assuming the information is gone entirely.
Test the holding force if both struts are still installed. Open the panel to mid-travel and let go carefully. A failing strut will offer almost no resistance and the panel will drift. This won’t give you an exact Newton figure, but it confirms the struts are well past their service life.
Use the gas strut replacement finder. Enter your physical measurements and the tool will help match you to suitable options, even if the force rating is unconfirmed.
Common Replacement Applications in Australian Builds
Once you’ve worked out how to read or recover your strut’s specs, it helps to know where Australian builders and tradies most commonly end up needing replacements in the first place.
4WD canopy lids and rear doors are one of the most frequent replacement jobs. Australian conditions are hard on struts: constant UV exposure degrades seals faster, and corrugated roads put relentless vibration through every fitting.
Ute toolbox lids see high daily cycle counts on work sites, and the combination of mechanical fatigue and exposure to moisture, grime, and chemicals accelerates both corrosion and seal failure.
Caravan and camper trailer hatches cover everything from storage bay doors to bed platform lids. Road vibration over long trips compounds UV wear, and these struts often give out after a few seasons of touring.
Workshop and garage storage systems see high cycle counts from daily use. Cabinet lid struts and storage compartment struts in these environments typically need replacement after several years of regular operation.
Trailer ramps and tailgates that use gas struts for controlled lowering face some of the highest load cycles of any application. The added weight involved means wear can accumulate faster than in lighter-duty uses.
In every case, the process is the same: match your existing specs directly, no resizing needed.
How to Use the Gas Strut Replacement Finder Tool
Once you’ve got your measurements in hand, putting them to work is straightforward.
Head to trailerpartsdirect.com.au/gas-strut-replacement-finder/ and have your extended length, compressed length or stroke, body diameter, shaft diameter, force rating (if readable), and end fitting types for both ends ready before you start.
The tool is built for replacement matching. Enter the specs from your existing strut and it will return the closest match from the Trailer Parts Direct range.
If your measurements fall between standard sizes, the tool or product notes will flag the nearest available option and note any dimensional differences. Most applications will accommodate a small variance in stroke, but always check before ordering.
Before adding anything to cart, cross-check the candidate product’s extended length, stroke, and end fittings against your recorded measurements. Product listings include these details, so a quick comparison takes less than a minute and avoids a return.
If the tool doesn’t return a clear match, or your application is on the unusual side, contact the Trailer Parts Direct team directly. As part of the Dunn and Watson Group, with extensive experience in fabrication, 4WD equipment, and specialist hardware, the team can work through your specific situation and point you to the right strut with confidence.
Get the Replacement Right the First Time
Once you’ve got your measurements and used the finder tool, the rest comes down to not skipping the details that trip people up.
With your four measurements confirmed (extended length, compressed length or stroke, body diameter, and force rating) and your end fitting types identified, you are ready to order.
End fitting type must still match exactly on both ends, mixed configurations are common, so check each end individually.
If your application runs two struts, replace both together as covered earlier.
For most replacements, the Trailer Parts Direct gas strut replacement finder is the fastest way to a confirmed match. Enter your specs and it’ll point you to the right option from the range.
For anything unusual, a worn strut with no readable markings, or an odd-sized application, contact the Trailer Parts Direct team directly. As part of the Dunn and Watson Group, they have the fabrication and hardware experience to sort out the tricky ones.
Conclusion
Finding the right replacement gas strut does not have to be a frustrating process of trial and error. Measure accurately, understand your end fittings, replace both struts when running a pair, and use the right tool to confirm your match before ordering. Get those steps right and you avoid the delays, return shipping, and half-assembled projects that come from guessing.
The Trailer Parts Direct replacement finder is built specifically to take your measurements and return a confirmed option from the range. No charts to decode, no spec sheets to cross-reference.
If your strut is worn, unmarked, or outside standard sizing, reach out to the Trailer Parts Direct team directly. The expertise is there to help you get it right.
Measure once, order confidently, and get your build or vehicle back to working the way it should.